|
Tools Required:
Small Flatblade Screwdriver
Other:
Small Sheet Of Cinemoid (Thin Transparent Coloured Plastic)
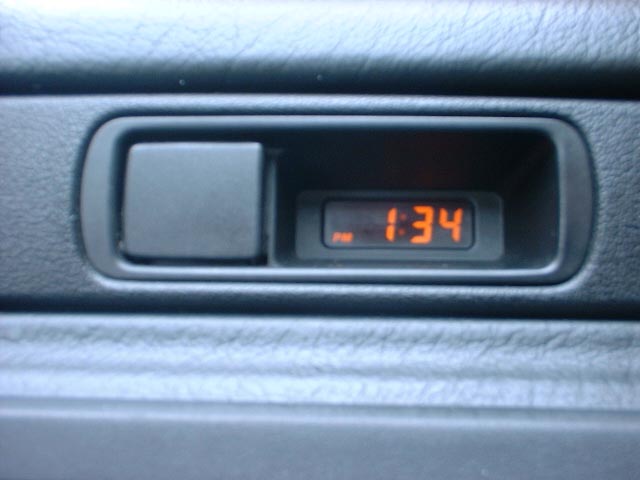
The clock in original colour is just a bit boring to be honest, and with more and more people fitting interior lighting
and colour coding, this is a simple modification to keep it going throughout the car.
Firstly remove the clock, if you don't know how to do this, e-mail me as it is different in every car and i'll se what I
can do.
With the clock removed, turn it over and you will see two lugs on either side, holding the back on. Push them in on one
side and the back will just pop off.

With the back removed, you will see there are two circuit boards, remove the upper boardby gently bending the lugs out
(1) and lifting the board up (2). Don't forget there is a wire joined to it and you don't want to be ripping it off.
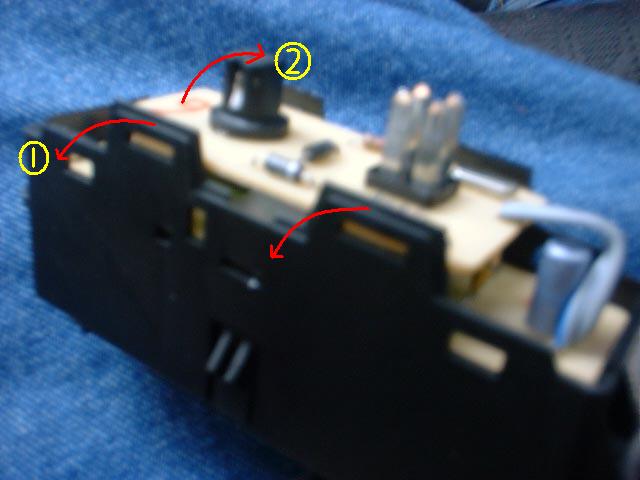
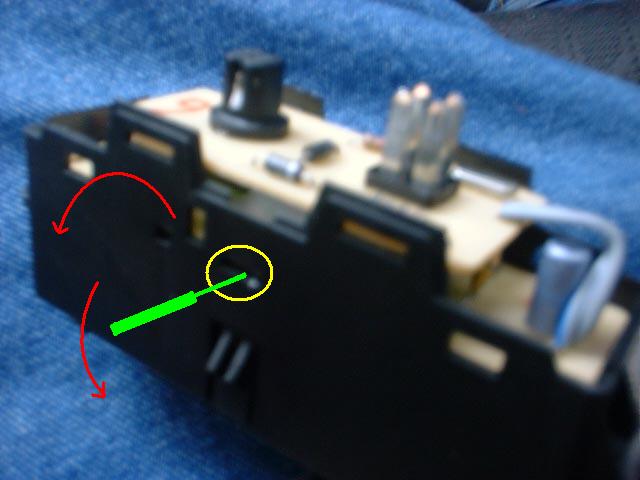
You will now see that there are two small catches holding in the lower board. Gently lever the board up with the screwdriver
through the hole in the side of the clock, and then the same on the other side. Wiggle the board to release it off the dowel.
(Sorry about the picture, but each picture I took, you couldn't see the clips)
All that is left in now is the LCD display. Lift this up (It is not clipped in) and place it on your workplace, (eg;
dining room table, etc) Remembering which way round it cam out.

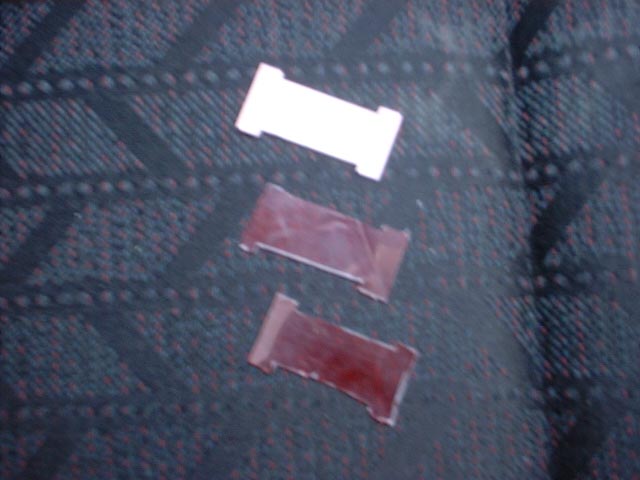
Then remove the white plastic surround by gently lifting it away from the LCD. There will be a small plastic insert there
to colour the clock display. (Don't loose it)

Now you find out why you didn't throw away the filament (Or shouldn't of). Use the filament as a template to cut out
the new colour insert.

I built up the clock after making one and the difference was noticable, but not the desired affect I was after.
So I made another one and it was much better.
Carefully put the clock back together, basically in reverse order of what you done to dismantle it. Make sure you
put the LCD display in the right way round, or the display will be wrong (Upside down and wont display correctly). Dont worry
if you do, just strip it down again and turn it around (It doesn't do any damage). And make sure you put the orange insert
in as this is to make sure the light isnt too bright (Trust me as ive seen them where they havent and you can barelly read
the time).

The picture doesn't do it any justice as it displays a lot more red than the picture looks. It looks great now and no
longer is the plain boring Orange. All Done.
Any questions or problems feel free to e-mail me and i'll try to help.
|